Well, as promised previously, here is an in-detail post on the pineapple tarts I made for Chinese New Year. I think I originally saw a posting on them on Pigpig's Corner and then came across them again in an article in (of all places) the Wall Street Journal. They looked so good--how could I resist?
These types of pineapple tarts (or balls, as I was calling them until someone at work made me start referring to them as tarts) are not a tradition in my family (judging from the blogs I read while looking for recipes, they seem primarily to be popular in Singapore and Malaysia); I've eaten pineapple shortcakes before, but these are totally different in texture. I cobbled a recipe together from various sources, although the pastry dough is primarily taken from Masak-masak's post.
Anyway enough rambling on with the recipe!
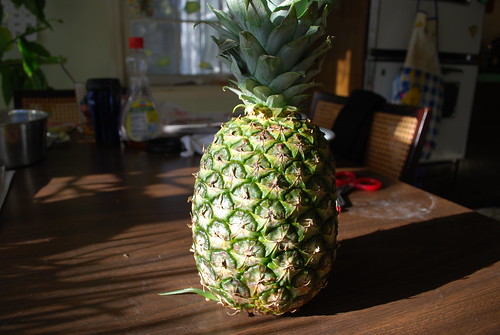
Step 1: Get yourself a pineapple. (See above!)
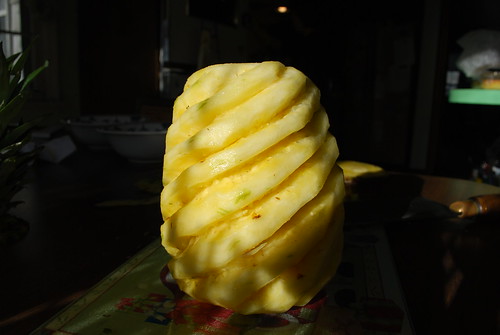
Step 2: Make pineapple naked and remove eyes. I only had a cleaver at my disposal, but I recommend using something smaller, like a paring knife. Remove core, and roughly chop the pineapple into chunks.
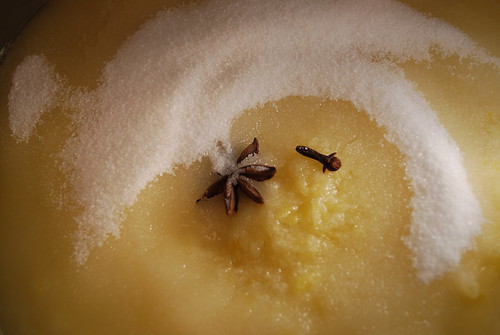
Step 3: Throw pineapple chunks into food processor. Blend until mostly smooth, then transfer puree to a heavy bottomed pot, and add about a cup of sugar, a star anise, and a clove. You may need more or less sugar depending on how sweet your pineapple is. Simmer for a long, long time. A LONG time. Stir frequently. Keep simmering until the puree has turned into an amber, sticky jam.

Step 4: After jam has cooled, roll it into balls approximately the size of a marble. Resist the urge to eat the jam straight up.

Step 5: Make pastry. (See bottom of post for recipe.) Roll pastry into slightly larger balls. Curse when you realize the number of pineapple balls doesn't correspond with the number of pastry balls.
Step 6: MAGIC. Okay, really, I just didn't take a picture of the filling process because it requires two hands. Basically you want to take your ball of dough, flatten it out with your fingers (try to make the edges thinner and the center thicker, like you would for a dumpling) and then seal a ball of pineapple jam inside. Try to keep the jam on the inside.
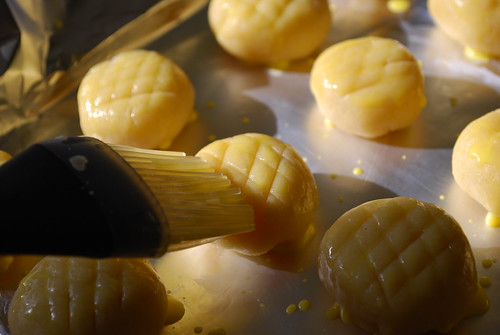
Step 7: If you aren't tired of pineapple tarts, use your knife to score a pattern on top of each one. Brush with an egg yolk glaze. (You should have your oven preheated to 375 degrees F.)

Step 8: About 20 minutes later, pineapple tarts! Admire their crackly brown gorgeousness. Resist urge to bite into one immediately, cause that jam gets really hot. Take lots of photos while they cool.
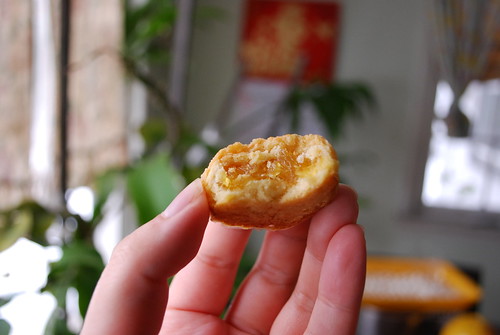
Step 9: Enjoy! Enjoy it fully, because they won't be back for a whole year :)
Pineapple tart dough
3 cups all purpose flour
1/4 cup granulated sugar
1/2 teaspoon salt
2 sticks butter, cold and chopped into chunks
1 whole egg plus 1 egg yolk
Combine flour, sugar, and salt in the bowl of a food processor and pulse briefly to combine. Add cold butter and pulse again until the mixture is the texture of coarse cornmeal. While the machine is running, add in the egg and egg yolk. Pulse until the dough starts to form clumps. Dump onto a clean work surface and knead briefly until smooth.
4 comments:
Drooling...
Thanks, Hui! They were pretty delicious :)
your pineapple tart really look great!!
Hi Beachlover, thank you! Considering how nice yours look, I take that as a real compliment :D
Post a Comment